How the Gophers Are Made
Anyone who has dabbled in Go has likely come across a gopher image or two. It has become an iconic mascot in the Go community, so much so that many new Go projects and libraries will create a custom Gopher logo, and projects like Gopherize.me have become wildly popular.
I’ve always been a sucker for a memorable logo and cute mascots, so I was no exception to this trend. It started off relatively simple with my first course, Web Development with Go. At the time I didn’t have a massive budget as I wasn’t really sure how this course thing was going to pan out, but I still wanted to have a gopher. I ended up asking my younger brother for some free help, and the graphic below is what I ended up with.

After the success of my first course, I decided that I wanted to invest more time, money, and effort into the gophers and logos for all of my future courses. It didn’t have a direct correlation to financial success, but I felt that a memorable logo was worth it from a branding and marketing standpoint. If someone visits my site and sees these cute gophers, they are more likely to remember my course.
I started setting aside a budget to pay for a graphic designer, and in every course I have released since then I have worked with a new artist to create themed gophers and a logo/banner image to match that theme.
In this article I want to talk about what my process is like of going from nothing to final product with these gophers.
Finding a Designer
The first thing I like to do with any new project is find a designer to work with. While I am comfortable using some design tools, I’m pretty bad at creating graphics from scratch. I also like to use a new designer for every course, as it helps keep each project from looking like a set of cookie-cutter designs. Every designer, especially ones not familiar with the Go mascot, tends to bring their own unique style and flair. For instance, the following Gopher graphic doesn’t match your typical Gopher design at all, but I still love it and hope to use it in a future project (the project it was intended for didn’t pan out).
This graphic was created by Simon Stefanelli.
For the sake of this article, we are going to walk through the process of designing the logo for the course Test with Go. When creating this course I worked with Egon Elbre, a software developer who is also an artist.
While seeking out a designer I like to ensure they are being paid for their work. I know it isn’t an easy task to create artwork, especially when I often have a pretty clear direction of what I want, so I always set aside a budget and offer to pay. In most cases I am working with graphic designers so this makes sense, but Egon was employed as a developer and didn’t want to complicate things, so he offered to do it and instead of paying him I donated to a charity or non-profit that benefitted the Go community.
The only caveat was that Egon wanted to license his designs under a CC0 license. I’d probably still do this again because working with Egon was great, but generally speaking I don’t recommend using artwork that is going to be CC0 licensed for marketing and branding of a course. It didn’t really hurt the course, as most of my graphics and final designs were created by myself using assets Egon provided, but it also means I cannot stop anyone from using Egon’s original Gopher designs in other projects. This is why you will find the orange crash test dummy gopher (shown below) on both my course website and the apitest library docs.

If I owned the rights to the image then this would likely still happen, but I could request that whoever uses it stop using it. Again, not a huge deal, but it can be challenging when graphics associated with my course branding are using in blog posts, libraries, and other projects not at all associated with me or my courses.
Initial Designs
Once I have an artist picked and we agree on a budget for the project, I’ll start with some ideas of what I’m looking for. Sometimes this is pretty easy and straightforward which can really help simplify things, and other times I am not really sure what I want. For instance, with Gophercises I knew I wanted exercising gophers, so I told Marcus Olsson to design gophers working out in any way he wanted.
![]()
It didn’t really matter to me if they were boxing, biking, lifting weights, or doing something else entirely. He had the freedom to pick exercises that would work well with his gopher designs.
In other cases I’ll be less sure of what I want. When creating Algorithms with Go I worked with Adrian Perez, and I had no idea what I wanted. I only knew the topic of the course. Luckily, Adrian is also an engineer, so he was able to come up with some really fun ideas like an Ada Lovelace Gopher and the Dijkstra Gopher shown below.

When creating Test with Go, it was one of the easier use cases, as I knew I wanted to incorporate a crash test dummy theme. This was a surefire way to signal the theme of the course - testing - while also making sure the gophers stood out compared to every other design on the internet.
Once I have a theme I’ll convey that to the artist and we are off to the races. The process from here will vary based on the artist’s preferences, but it almost always starts off with some rough drafts. Egon prefers to do these by hand, and below are a few of the drafts he sent me at the start of the project.
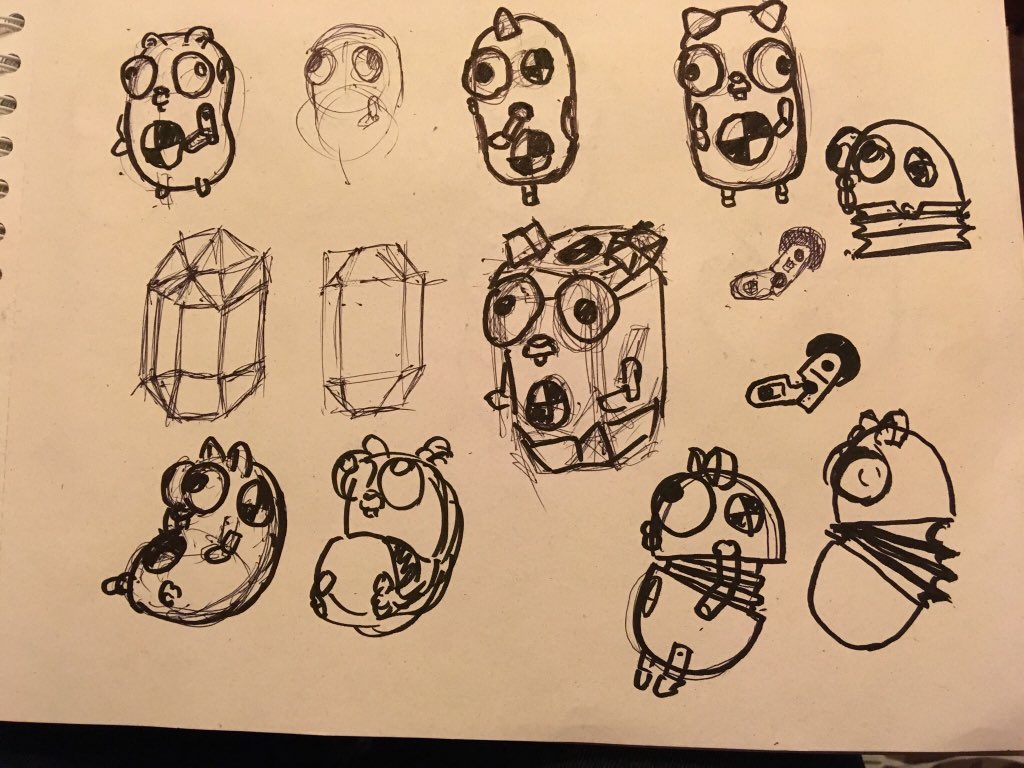
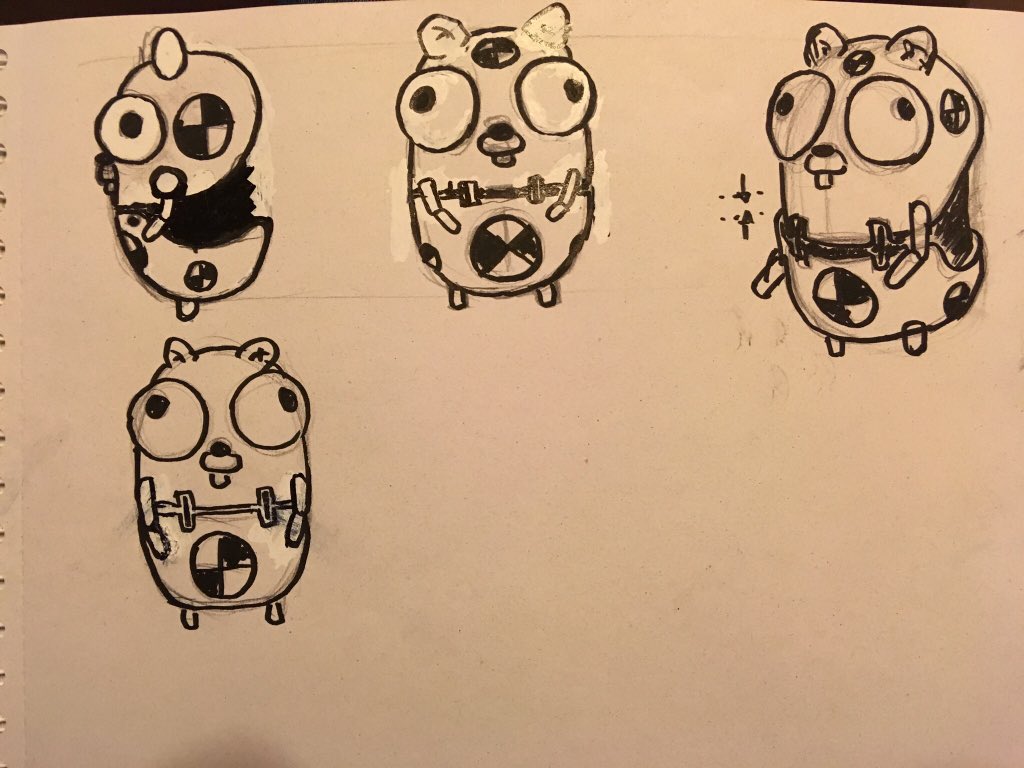
These particular rough drafts were created while Egon was riding in a vehicle, but they still quickly convey the direction the artwork is going in and made it clear that he knew exactly what I was looking for, so I gave him the go ahead to move forward with vector files.
Interestingly, many gopher designs are pretty modular. You can easily create new poses by altering a few component on the gopher. I first discovered this when creating the animations for Gophercises. I didn’t have to do any wild image editing, I was simply altering parts of the vector file and saving individual frames to be used in the final gif animation.
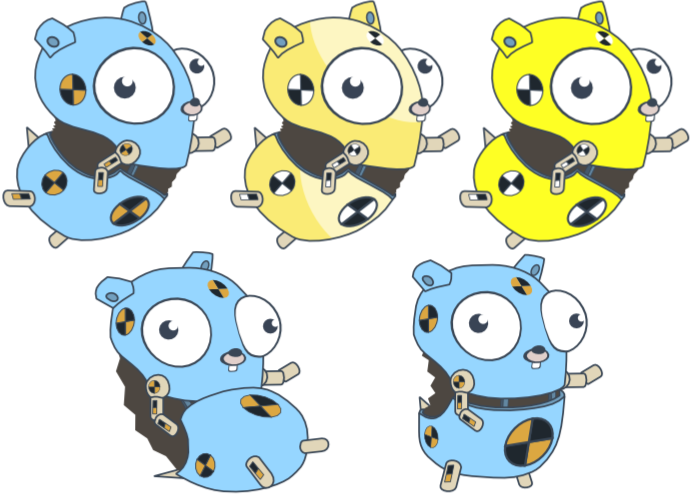
Egon also noticed this, and took advantage of it to create a variety of poses that look completely unique, but often reuse some of the same body parts to speed up the design process. We also explored a variety of colors, as this can help make the gophers look more unique despite being quite similar. It also helped me, as I still hadn’t settled on a color palette for the website.
Below are some of the various poses and colors that we were exploring. Note that these aren’t always perfect, and the yellow gophers have blue in them still, but a final product isn’t always necessary to test various colors out.
Knowing all of this, I try not to get too caught up in having the exact perfect set of gophers at this stage. Instead, I wait until I get a better understanding of what my final logo will look like, what my website design will be, what color palette I’ll be using, etc. This enables me to make sure the gophers are headed in the right direction without getting too caught up in details that can be changed once I have the website designed.
Website Design
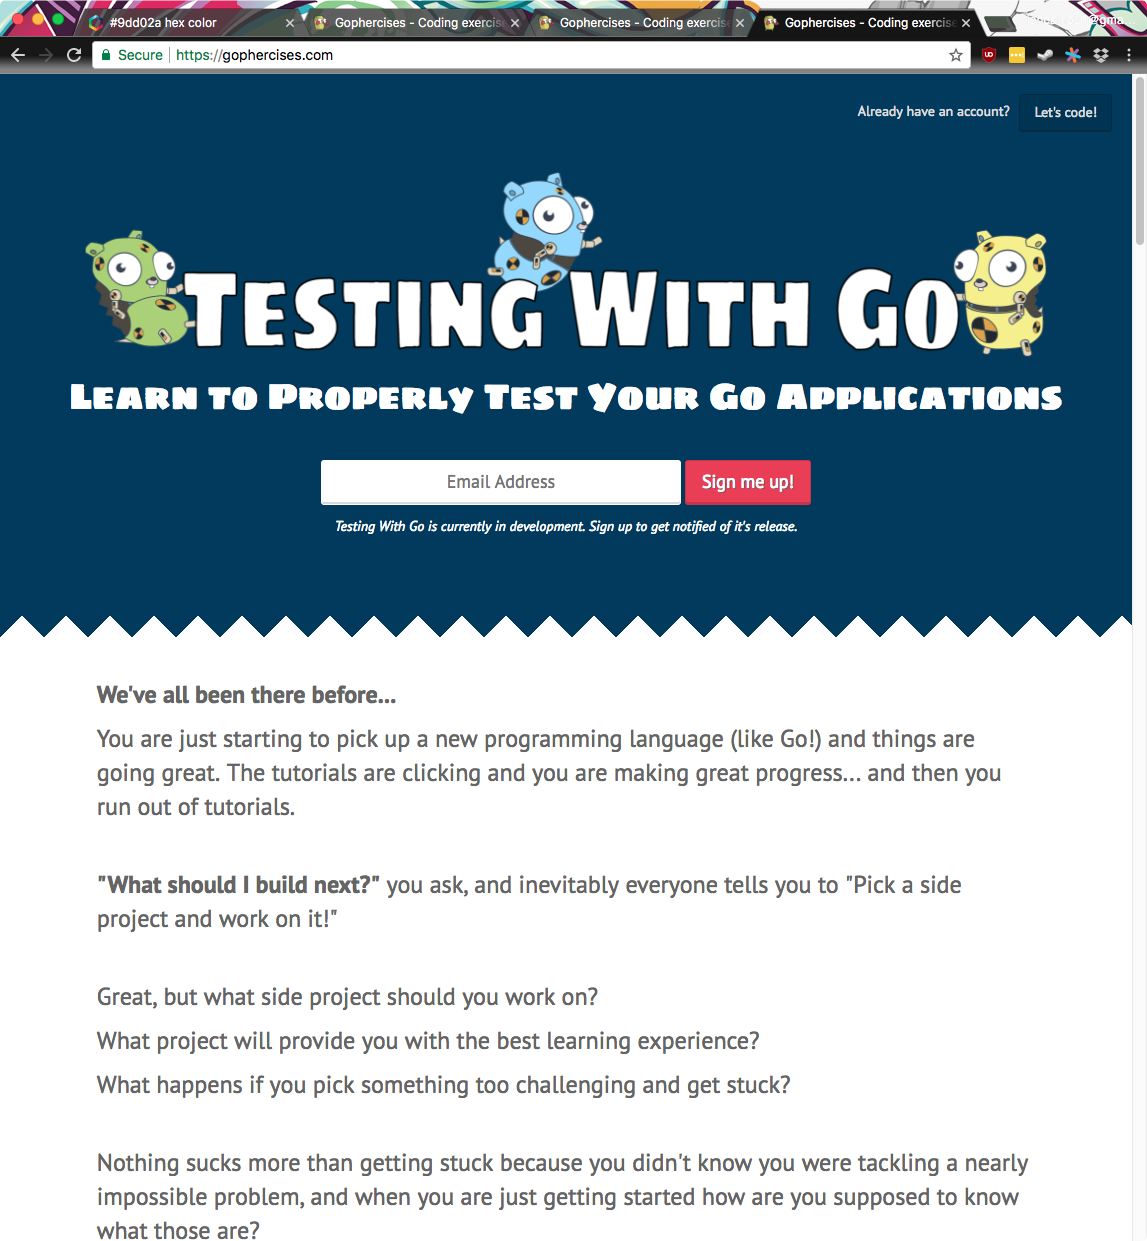
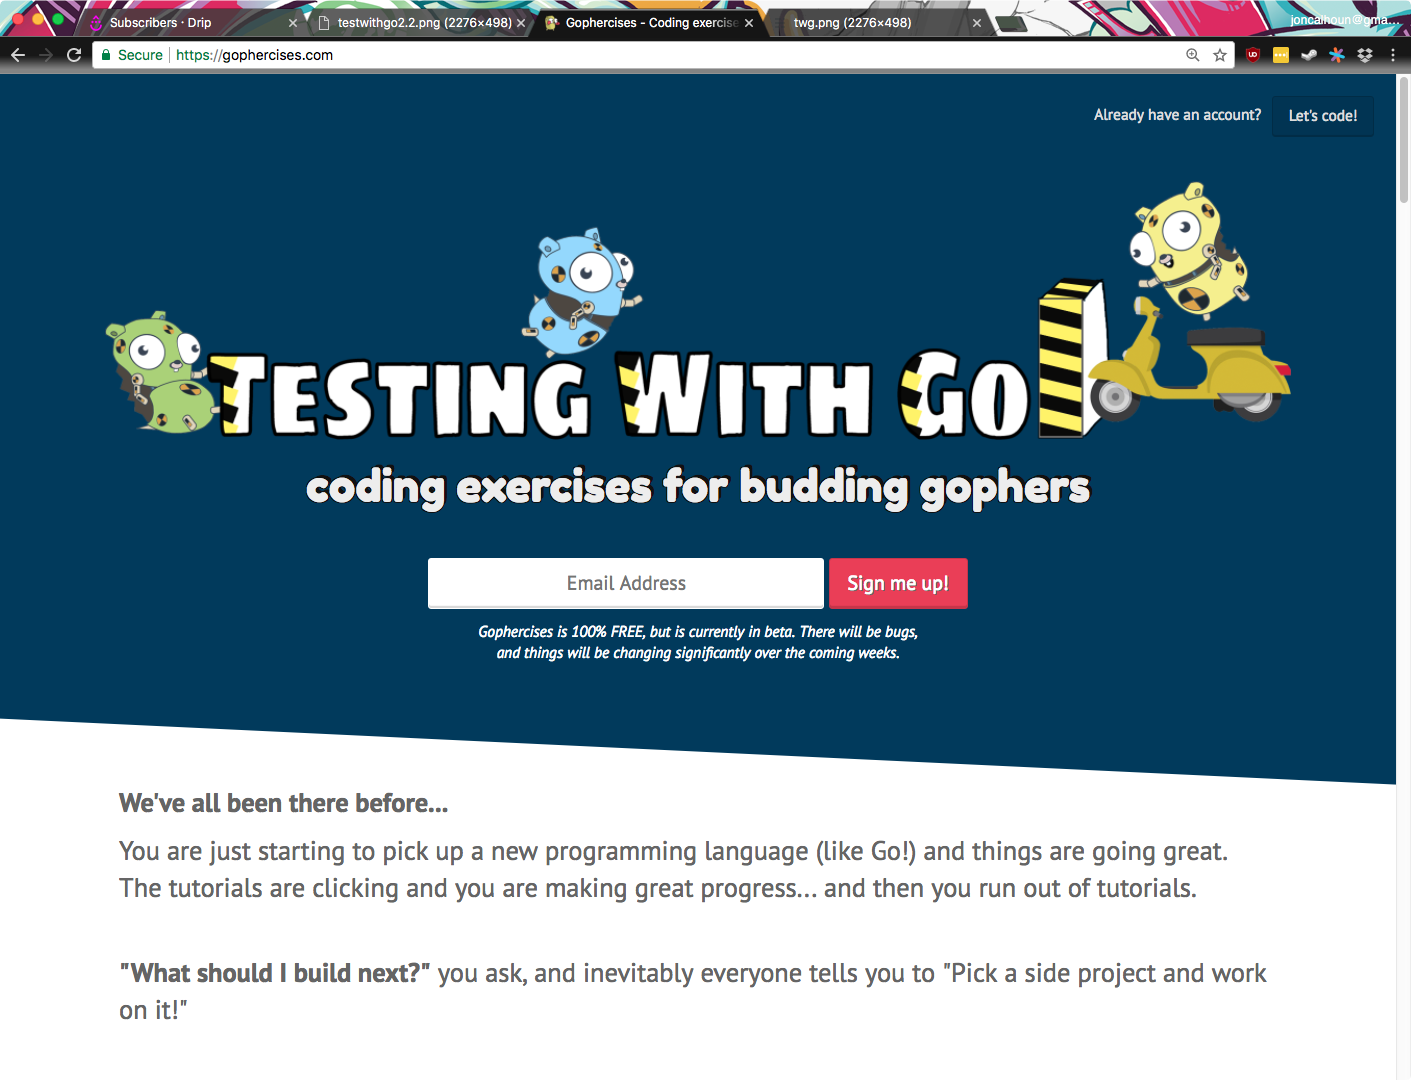
One important thing I have learned over the years is that you should always view your artwork and logos in the context you intend to release them in. Otherwise you can end up with graphics and logos that look amazing in isolation, but are incredibly hard to incorporate into an actual webpage with text, signup forms, etc. To help with this I typically take an existing course page and tweak things to test out the new course logo. This gives me a pretty good sense of what it will look like surrounded by all the page elements.
For Test with Go I started with a somewhat simplistic design based on my existing course, Gophercises. Below is a first draft where I re-used some HTML and content from the course to see how it looked on a real webpage. If you compare it to the Gophercises landing page you will see how similar the two are.
After setting this up, Egon and I discussed the colors and tested a wide variety of options. Again, this isn’t meant to be perfect, but to give me a quick overview of options to see if I like any of them.
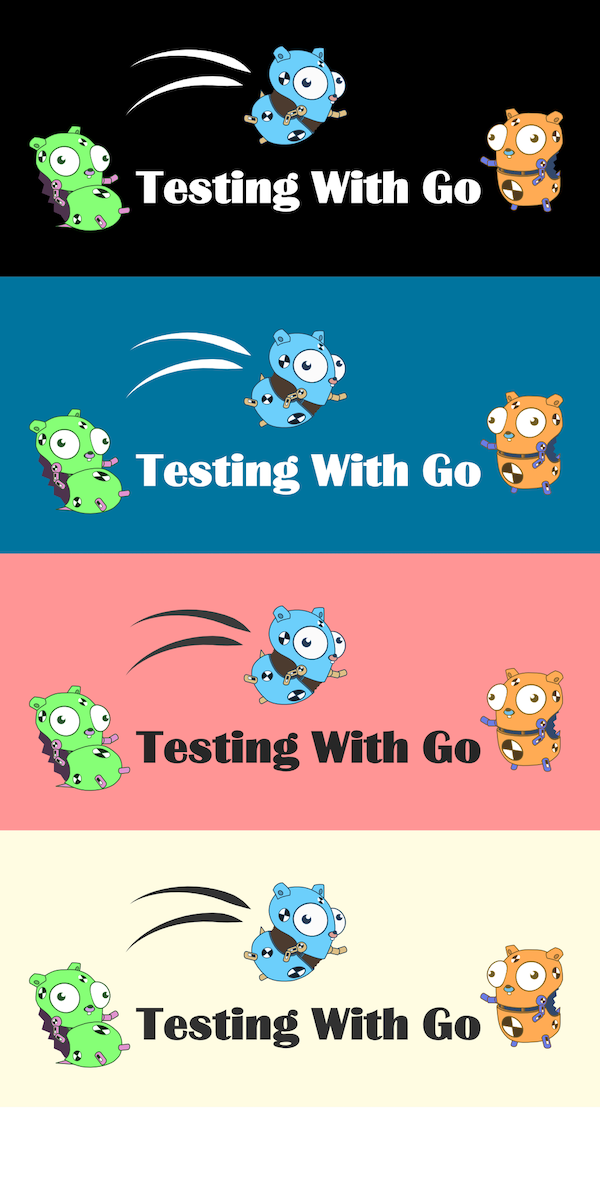
Around this time I also like to explore variations of the logo. I’ll try various fonts, placing the gophers in new locations, and I’ll even explore ways to blend the gophers into the logo.
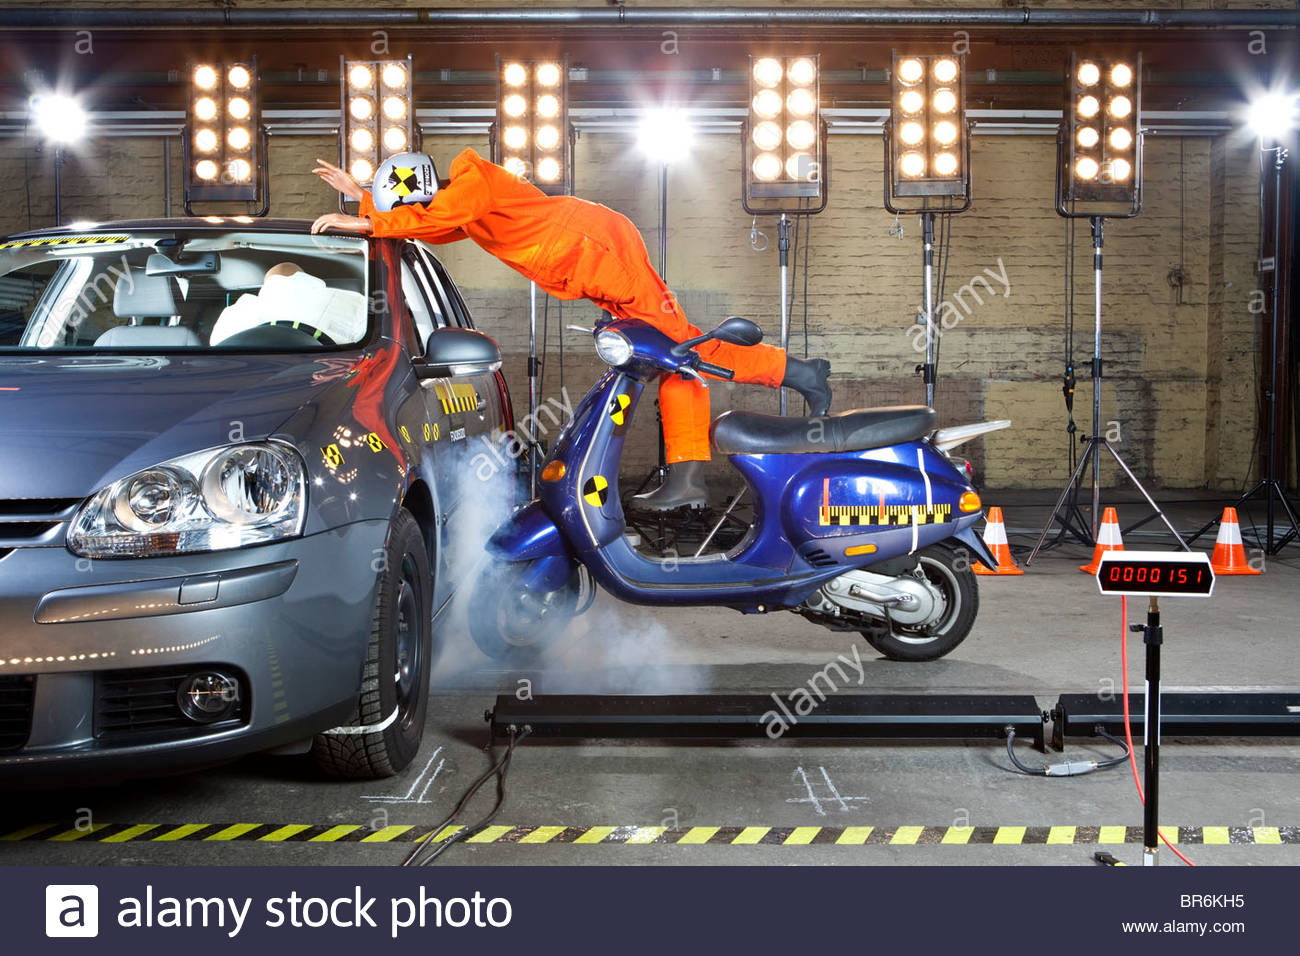
Test with Go was one of my courses where I really wanted the gophers to be incorporated into the logo text. My original idea was for one of the crash test gophers to be in a car (or something with a steering wheel) crashing into the “Testing with Go” logo. Unfortunately, I couldn’t find a good way to incorporate all of this and we eventually decided to try a scooter instead. I sent Egon the following image as an example of what I was thinking.
At this point I’m not sure if I found a scooter graphic online to experiment with, or if Egon sketched up a scooter for me, but I got a scooter graphic and attempted to put it together with the logo text. I also tweaked the text a bit to try to incorporate some yellow and black caution tape.
Egon eventually created a different scooter for me, but it is different scooter so I can’t be sure if he changed it, or if I used one I found online for testing purposes in this image.
I continued experimenting with the logo, but no matter what I did I wasn’t completely happy with the final design. Egon helped with feedback on a few ideas, gave input on color theory, and was overall incredibly helpful, but I still couldn’t get it to a point where I was happy.
I’m not really sure if Egon was too busy to take it on himself at this point, but I was also in the process of working with Simon Stefanelli on another project and I asked him if he could help out. After discussing a few ideas with Simon, he sketched up the following rough drafts.

I liked the second option best for some reason, but I wanted to tweak it a bit. I also needed to put it on a website, so I started with a solid color background like most of my pages had. Egon saw it and suggested I try a few gradients, then Simon provided a really cool variant that used a blue sky and grassy field. Somewhere along the line the text also got updated to include the caution tape edges as well (I think Simon did this).
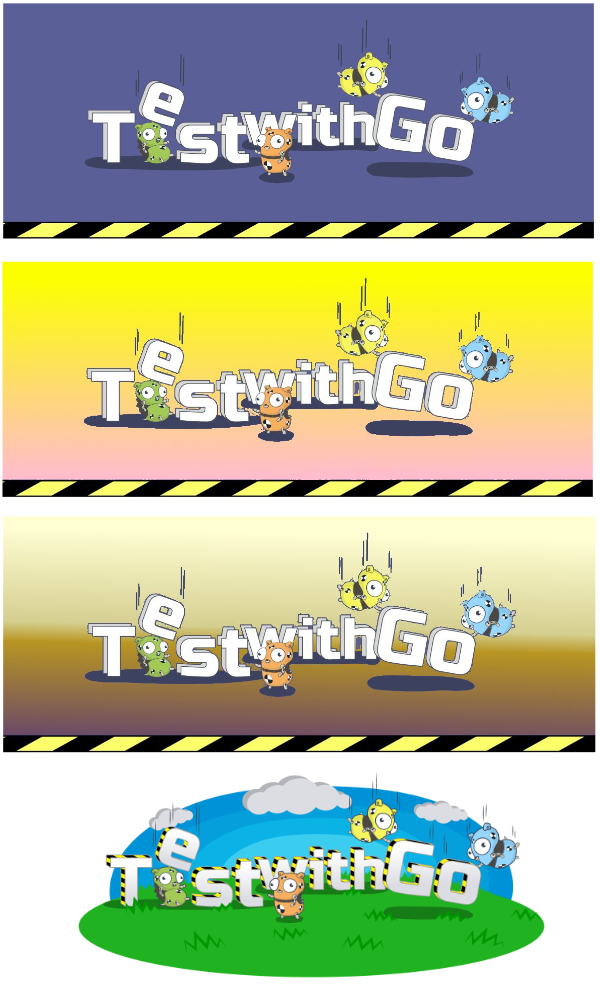
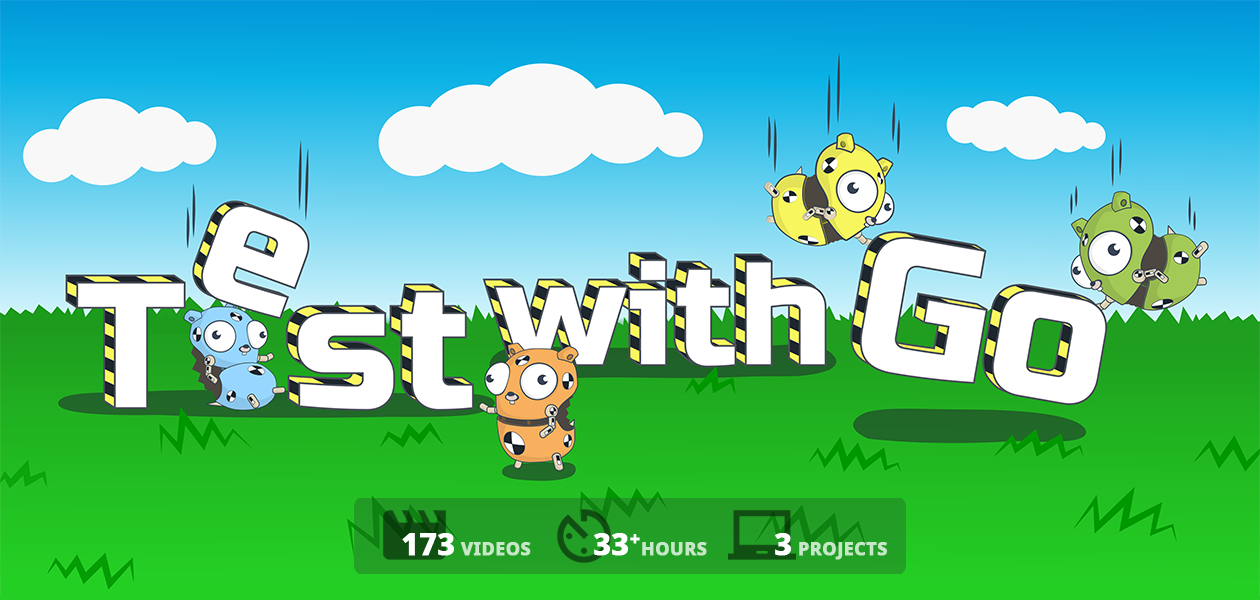
It wasn’t long before I finally landed on the following image to be used in the hero section of my landing page.
Stickers!
In many cases all of the gophers used in a project will already be on transparent backgrounds and ready to go as stickers, but occasionally that won’t be true and some extra work will be needed to prep for printing stickers. This is a completely optional step, as I don’t typically sell or send stickers to people, but I like to have the option and I find it is much easier to do when working with the initial artist.
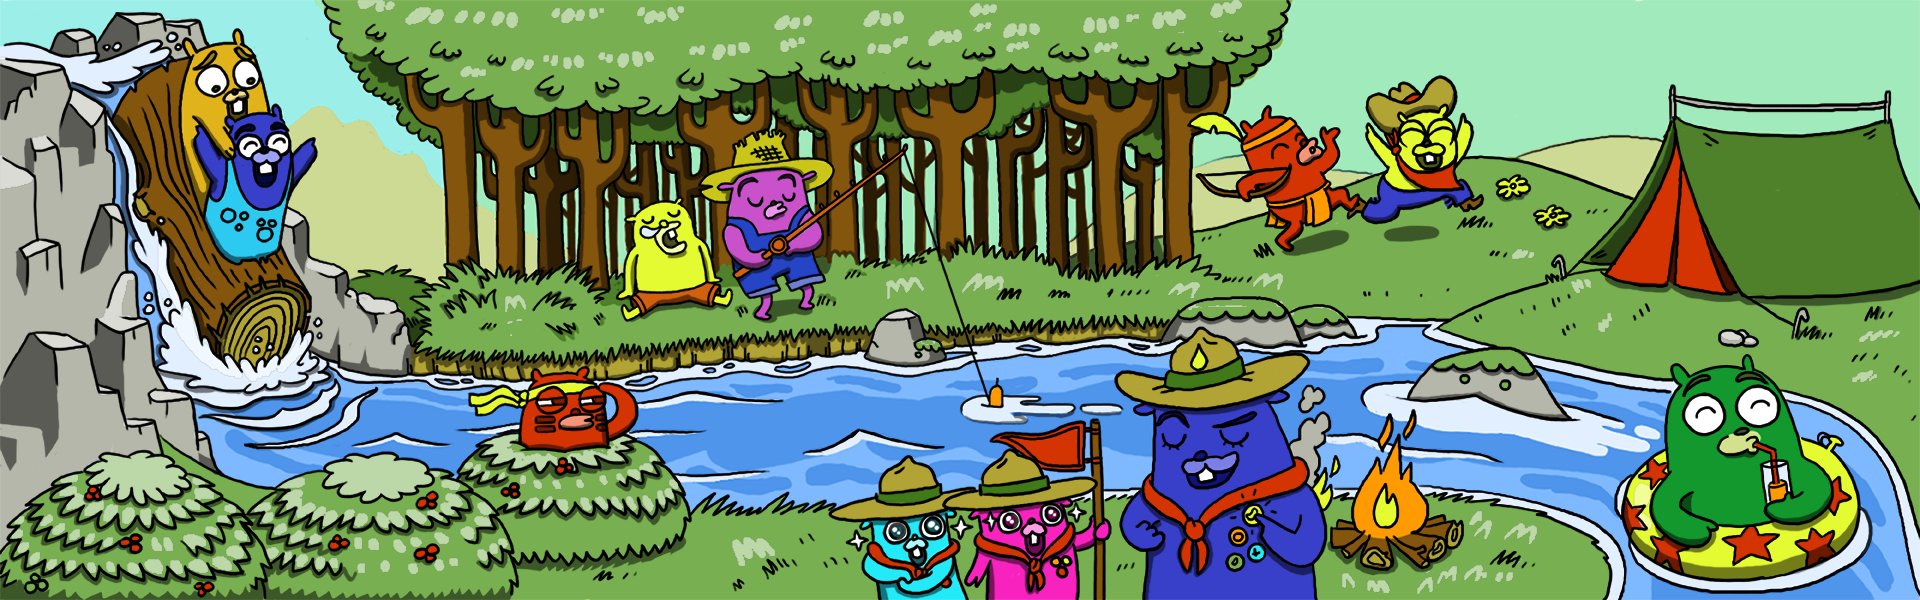
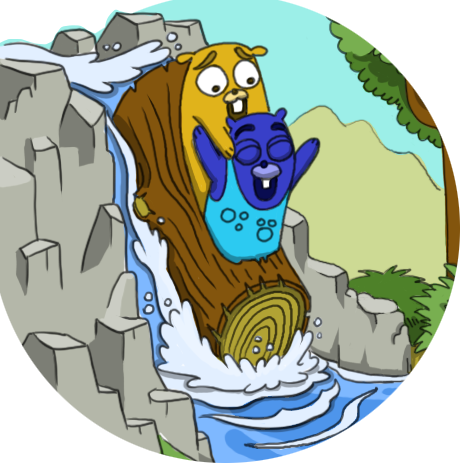
The crash test gophers were vector files that I could easily print with a transparent background, but an example of graphics needing extra work is when I was working with Simon on the image that has gophers playing along a river. None of these were ready for print, so I had Simon extract some stickers out of the graphic. Below is an example of one of the sticker cutouts he created.
And with that I am typically ready to launch a course with some awesome gophers!
As always, thank you to all of the awesome designers I have been lucky enough to work with in the past. You have all been awesome.
Learn Web Development with Go!
Sign up for my mailing list and I'll send you a FREE sample from my course - Web Development with Go. The sample includes 19 screencasts and the first few chapters from the book.
You will also receive emails from me about Go coding techniques, upcoming courses (including FREE ones), and course discounts.
